Reuse Your Tea Tins: DIY Pencil or Makeup Brush Holders
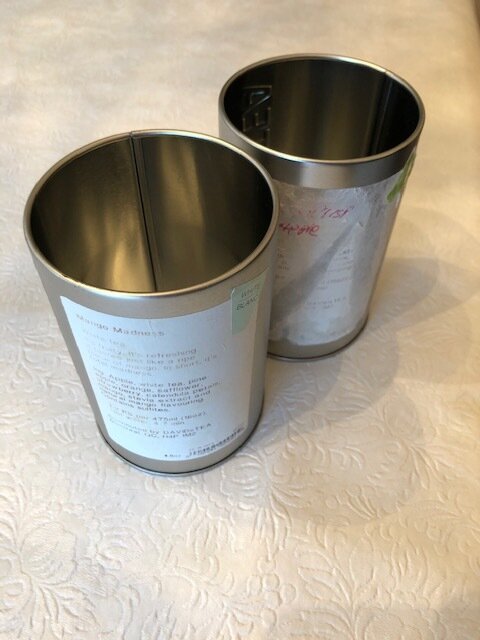
One of the first times I went shopping at DAVIDsTEA, the Tea Guide told me that I would get a discount if I brought back my tea tins to be refilled. Somehow, I never got around to bringing them back, and now DAVIDsTEA has closed all locations in the United States. Lately I’ve been interested in living more sustainably, so rather than throwing out my empty tins, I decided to DIY them into pencil and makeup brush holders. I was really happy with how the project turned out, so I thought I would share the process. Of course, you don’t have to use only DAVIDsTEA tea tins—many brands sell their tea in similar containers that will work just as well—that is just what I happen to have.
You Will Need
Tea tins
Construction paper
Pencil
Ruler
Scissors
Tape
Decorations (optional)

Step One: Measure the Height
Lay your tea tin down on the piece of construction paper, making sure to place the lower lip of the tin below the construction paper. Use your pencil to mark off the height of the tin. Alternatively, if your tea tin has an upper lip, you can mark off that point.
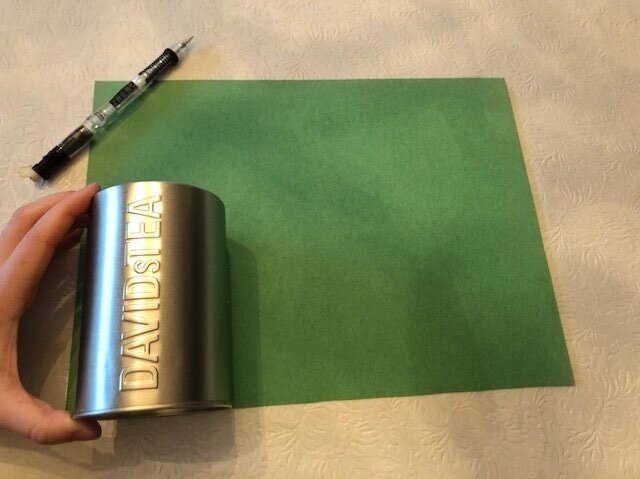
If you are using the full height of the tea tin, move the tin and mark a spot above the original height (I measured half an inch). Use the ruler to draw a straight line across the paper at the new point, making sure the ruler is perpendicular to the paper so the line is truly straight.

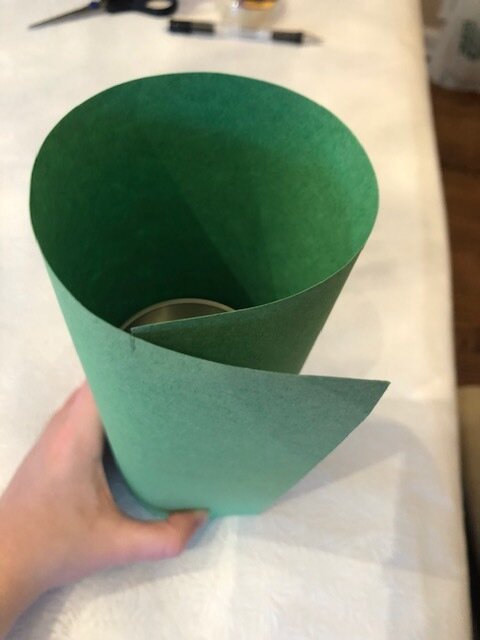
Step Two: Measure the Circumference
The first tea tin I attempted to cover, I used the whole piece of construction paper, which caused difficulties in later steps. Instead, I recommend loosely wrapping the paper around the tin, and marking the point where the paper overlaps itself.
Place the construction paper flat and mark a spot past the original spot (I measured half an inch again). Follow the same steps as above to draw another line for where to cut. The two lines should be perpendicular.

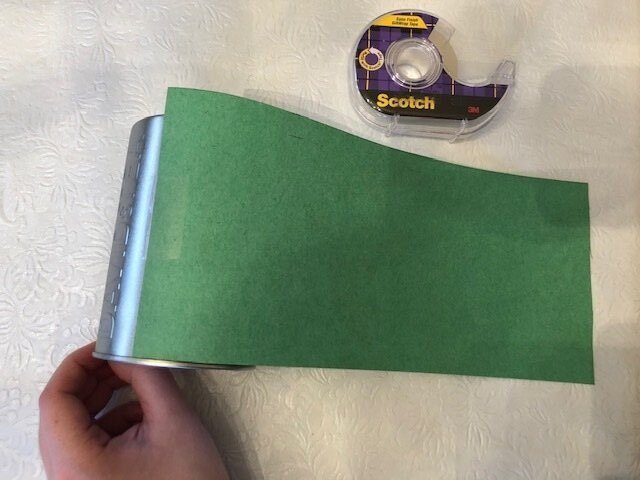
Step Three: Cut and Tape
Cut the paper along the lines you made.

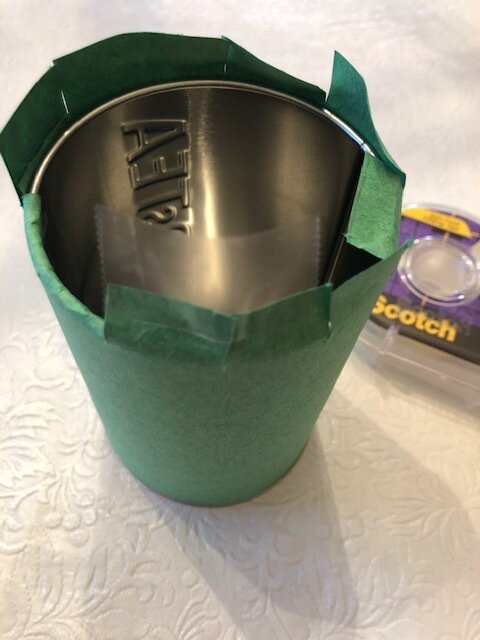
Tape one edge of the construction paper to the tin, marked side down—one piece of tape is sufficient for this step. Wrap the paper around the tin and tape the seam, this time using multiple pieces of tape so the paper lays flat. I found it easiest not to tape all the way up the seam just yet.
Step Four: Fold the Excess Over
If your tea tin didn’t have an upper lip to stop at, you’ll want to fold the excess paper over for the cleanest look. The easiest way to do this is to cut slits in the paper until you reach the edge of the tin. I discovered this works best if you cut a slit on both sides of the overlap, and cut the back piece of overlap out. Then, I folded the paper down in sections until it naturally teared, and cut at those tears.

Once you’ve cut the slits, you can tape them in. I have tiny hands and still found this quite difficult, until I discovered you could place a piece of tape over two or three slits before folding them in. It was much easier to press them down this way and gave a very clean look.

Step Five: Finish Taping and Decorate
As I said earlier, I found it easier to fold the excess over when I hadn’t taped all the way up the seam of the overlap. Now that the top edge is folded over, I taped up the final part of the seam so that the construction paper laid flat.

I decided to leave my newly covered tea tins plain, but you could definitely decorate them to match your style. I think it would look great to cover the overlap seam with some cute washi tape.
Step Six: Use Your Tins
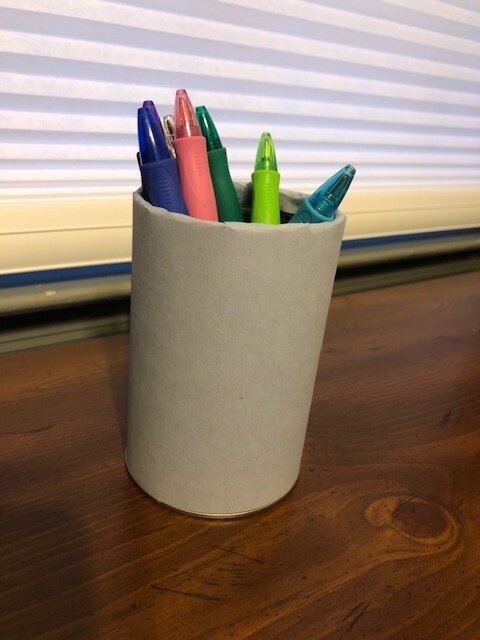
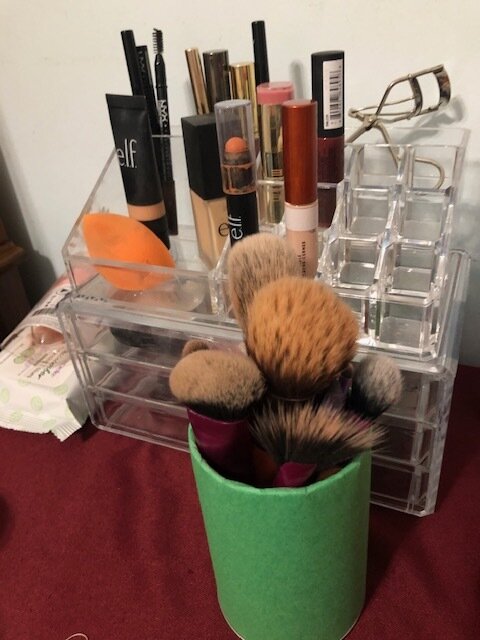
I used one tea tin to hold my pens and pencils and another to hold my makeup brushes. I could see these being great for paint brushes, or even as pots for plants. The possibilities are endless!
This whole DIY project took maybe 15 minutes, and I love the way the tea tins look in my room. I’m also really happy that I found another use for the tins that I would have otherwise thrown out. I hope this inspired you to find new uses for old tea tins. Be sure to let me know if you recreate this DIY!
—
Like this article? Read more like it here: